How to Turn One Product Photo Into a Video in Quby
Use Quby Video Studio to animate one approved product photo with a focused motion prompt, then review product details before publishing.
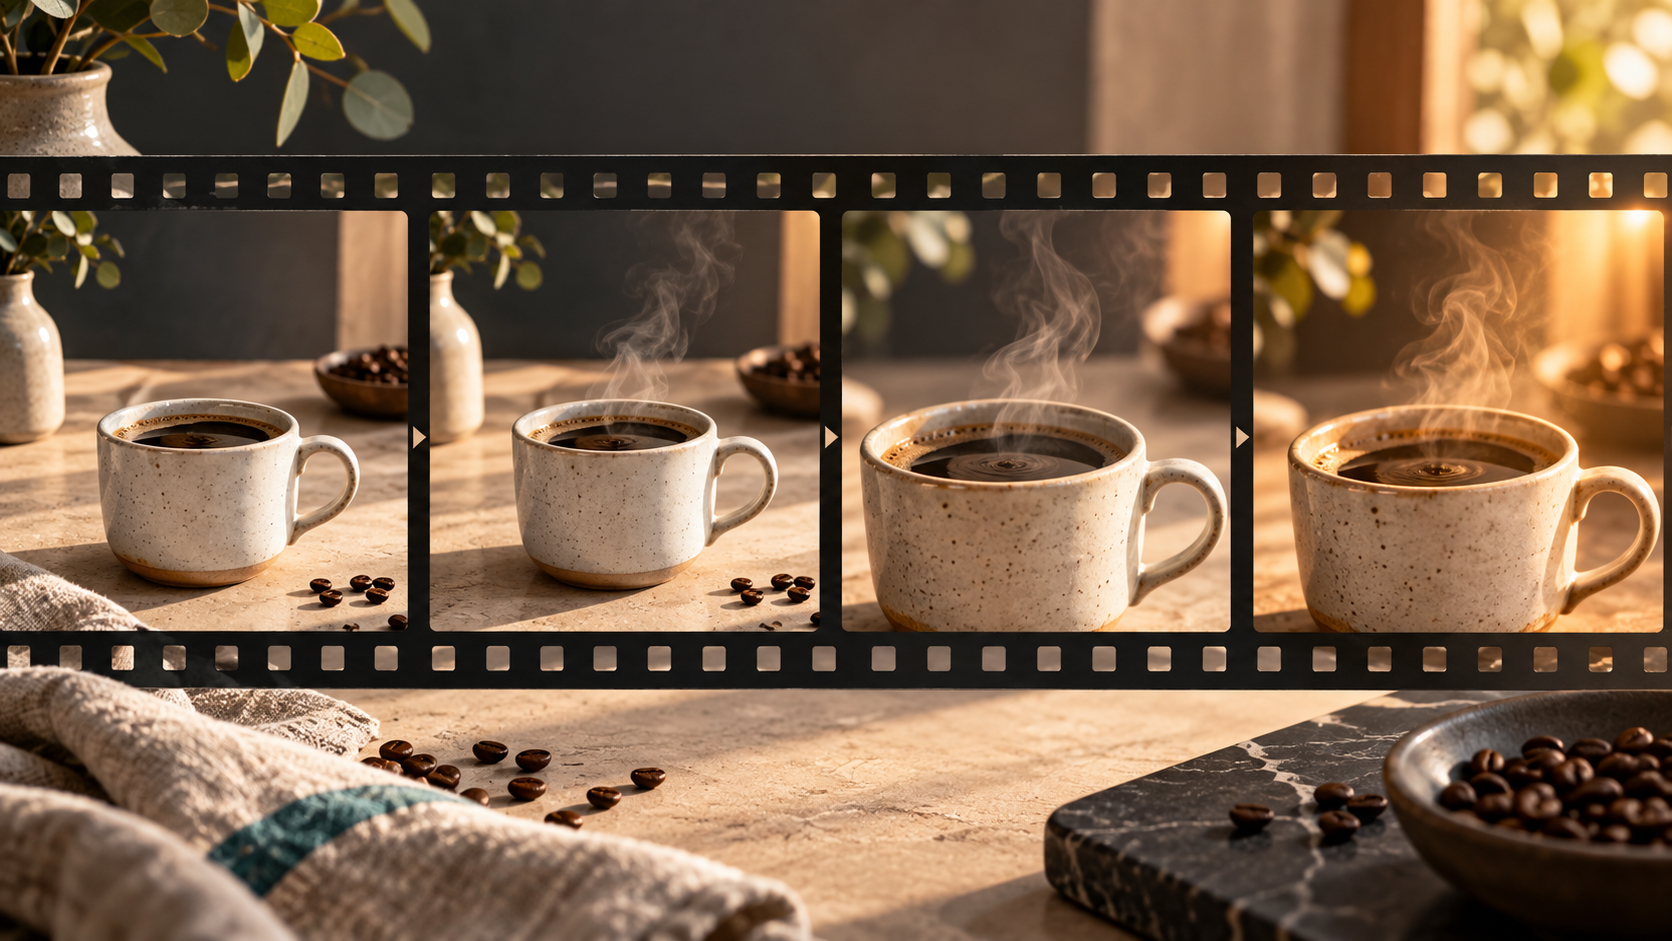
One good product photo can become a useful short video without inventing a new product scene. The trick is to treat the photo as the visual source of truth and ask for one restrained movement. A cup can catch a gentle camera push; a bottle can turn slightly in the light; fabric can move in a soft breeze. If the label, shape, or color changes, the clip is no longer a faithful product demonstration.
This guide shows how to make that first clip in Quby Video Studio. Open the studio, sign in if requested, and look for Image to Video. You can use the same checklist with a photo you already own. Model choices, available duration, and generation terms can vary by account, so review those controls in the studio before generating.
Start with a photo that can survive motion
Choose a clear, high-resolution image of the actual product. For a product demo, a straight or three-quarter view often works better than a dramatic crop. Leave a little space around the object so a camera move has room to breathe. Keep the label visible and the background simple enough that changes are easy to spot. A blurry photo, partly hidden product, or tiny text will not become reliable just because it moves.
Think about what the clip must prove. If the photo shows a ceramic coffee cup, the video can show steam rising or a small camera move across the glaze. It cannot honestly show the cup's exact capacity, durability, or packaging unless those details are visible and verified elsewhere. Write two lists: must stay the same (cup shape, handle, logo, color) and may move (steam, light, camera). This makes the prompt shorter and the review sharper.
If the source photo has a distracting background, prepare a clean product image before animating. Quby's Background Studio is one route to explore for that preparation. Save the approved still and use that same file as the starting point for the video, rather than repeatedly changing the product image while testing motion.
Set up the clip in Quby
In Video Studio, choose Image to Video, upload the approved photo, and select a model shown as available in your account. The mode uses an image and a written prompt. The studio's current controls determine which aspect ratios and durations are offered for that model. For a website hero or landscape product page, start with a wide frame if available. For a vertical social placement, use a vertical source image or composition with enough room for a crop.
Before pressing Generate, inspect any cost, credit, or queue information the studio shows. You do not need a long render to learn whether the product identity holds. Choose a short duration when the control allows it. Plan a single shot first; you can make a second cut after the first one passes review.
The written prompt should describe motion after the photo, not repeat every detail already in the image. Runway's image-to-video guide describes the same general principle: the source image anchors the composition, while the prompt directs motion. That is useful regardless of the video model selected in Quby.
Three motion prompts worth testing
For a ceramic cup on a table, start conservatively:
Slow camera push toward the cup. A thin ribbon of steam rises naturally. Keep the cup shape, handle, glaze color, printed mark, table, and background unchanged. No new objects or text.
For a skincare bottle with a readable label, move the camera rather than the bottle:
Gentle side-to-side camera move across the bottle. Soft light shifts on the surface. Keep the bottle silhouette, cap, label text, color, and position stable. Do not add liquid splashes, extra packaging, or claims.
For a shoe, try one controlled environmental movement:
Static camera. A soft sweep of light moves across the shoe and a faint shadow changes on the floor. Preserve the sole pattern, stitching, logo, color, and proportions. No rotation that reveals unseen parts.
These are starting briefs, not guaranteed outputs. If the first result changes an important detail, remove competing actions from the prompt. For instance, a request to rotate a product, shift lighting, animate fabric, and move the camera all at once makes it harder to see which instruction caused the drift. Try one motion at a time and keep the approved still beside the clip while reviewing.
Review frame by frame before using it
Watch the output once at normal speed, then pause at the beginning, middle, and end. Compare each frame with the original photo. Look for a label that melts or swaps letters, a handle that changes sides, a cap that disappears, a shoe sole that redraws, or a color that drifts. Also check whether the background invents objects or the camera move reveals a product side that was never photographed. Those are reasons to regenerate or use real footage, especially for a listing or advertisement.
Readability matters as much as fidelity. Shrink the clip to a phone-sized preview. Can the viewer tell what the product is within the first second? Is the motion noticeable but calm enough to let the product remain the subject? If the clip will sit behind text on a page, make sure the center of attention does not collide with the headline. Test without sound; the basic visual idea should still work.
Keep the unedited source photo and the prompt with the selected video. That gives your team a simple audit trail and makes the next variant easier. Record which model and settings the studio actually showed you, because those details may change. If you plan to publish an ad, review platform disclosures and any client rules for AI-generated imagery. A generated clip should never imply that an untested product feature was filmed in real life.
Make a second version only after the first works
Once the first clip preserves the product, make one deliberate variation: perhaps a static shot instead of a push-in, or a slightly different light movement. Compare both against the same brief. A useful test asks whether viewers understand the product faster, not whether the second clip is flashier. If neither version keeps the label or silhouette consistent, switch to a simpler still-image treatment or film a short real shot. That is a valid creative decision, not a failure of the workflow.
If you need several images to tell a sequence, do not force a single photo to represent every angle. Quby Video Studio also presents text-to-video and frame-based modes, but those solve different problems and may have different model availability. Start with one approved image-to-video shot, then decide whether you need another source image or a separate clip. Keep the product identity checklist for each shot so the final edit feels like one campaign.
Ready to test? Bring one approved product image to Quby Video Studio's Image to Video workflow, paste the simplest motion prompt above, and review the first output against the still before spending another generation. That single comparison tells you more than a batch of elaborate prompts.
Sources: Quby Video Studio modes and Runway's September 2026 image-to-video guide.
Ready to Create with AI?
Put these techniques into practice with Quby's professional AI creative tools.
Launch Creative Suite