How to Upscale a Small Photo for Print Without Inventing Detail
Calculate the pixels your print needs, make one Quby Upscaler candidate, and inspect it against the original and a physical proof.
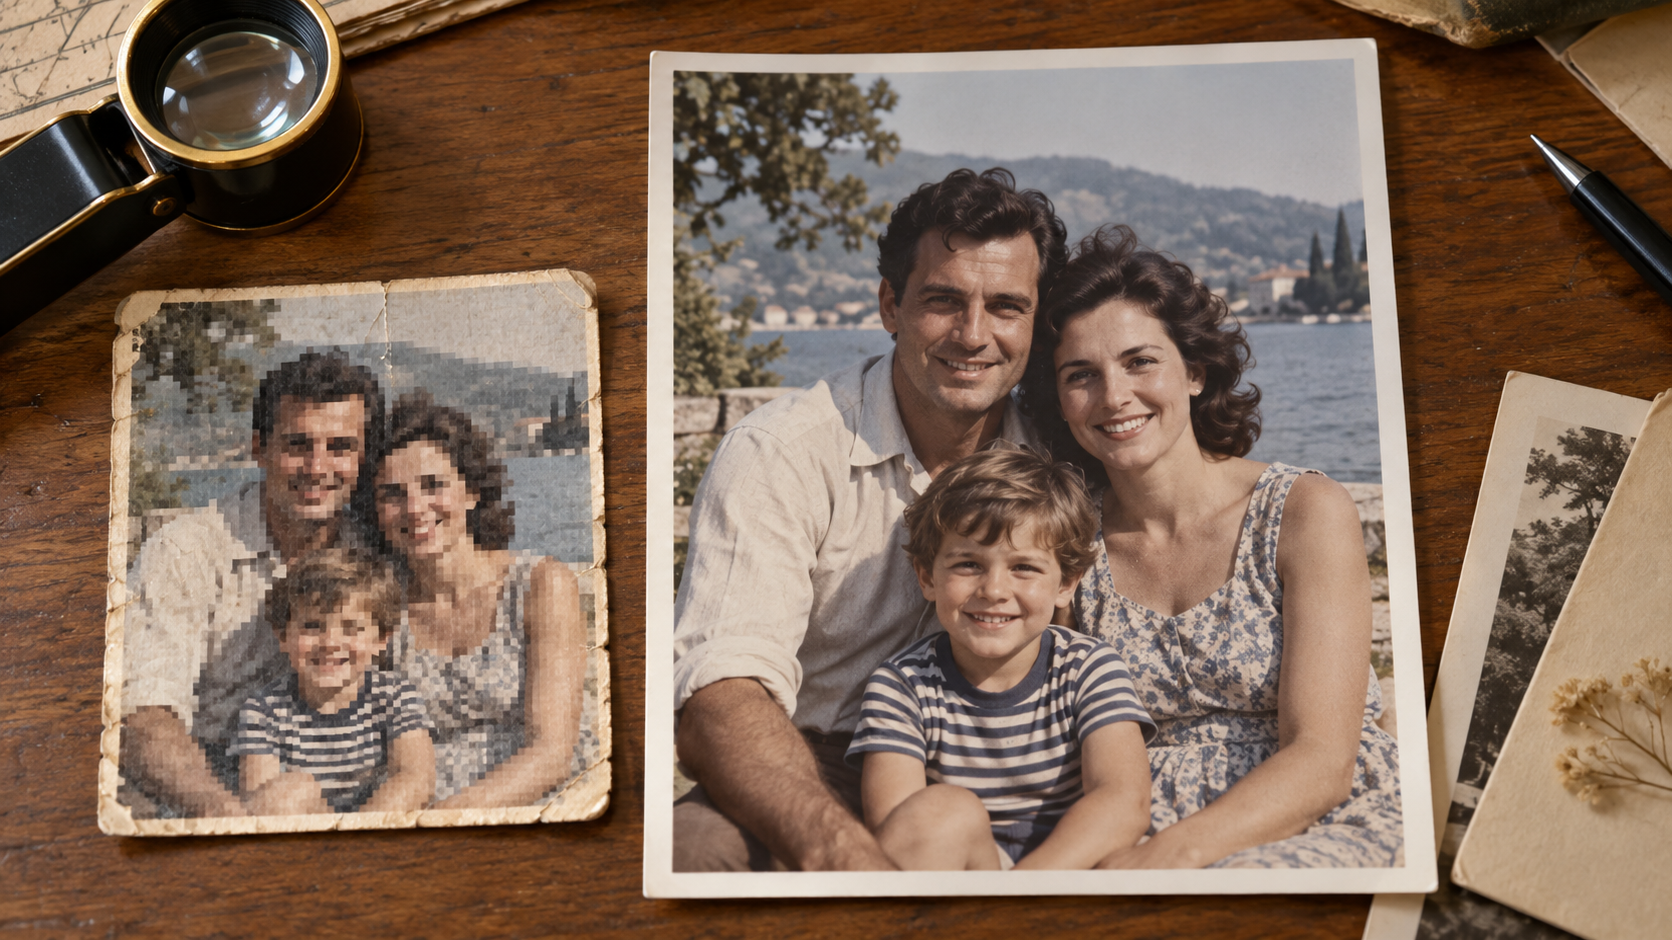
An old photograph can look fine on a phone and fall apart as a large print. The first question is not "Which AI setting is strongest?" It is "How many real pixels do I have for the print size?" Upscaling can create a larger file and sometimes a more pleasing appearance, but it cannot recover facts that the source never recorded. A restored face, a sign, or a product label needs human review.
This workflow uses Quby Upscaler to make one candidate file, then applies Adobe's explanation of pixel dimensions and print resolution. Quby's public page shows 2× and 4× choices and an image upload path; inspect current account controls and export terms before processing. No output-quality score is claimed here.
Calculate the real starting point
Find the original file rather than a copy sent through a chat app. Read its pixel dimensions. A 900 × 600 image has 900 pixels across, regardless of what a metadata field says about DPI. If printed 6 inches wide without resampling, that is 150 pixels per inch across the width. A larger physical print spreads the same pixels over more space. Adobe's print-resolution guide explains the difference between pixel dimensions and print density, and why changing a resolution number alone does not add image data.
Pick the intended print size before upscaling. A small framed photo viewed from a distance can tolerate different detail than a close-viewed portrait. Ask the printer for its file guidance and color requirements. Do not assume that every print job needs one universal PPI value. Write down the source dimensions, intended dimensions, and the largest enlargement you are considering. That simple record prevents a trial from becoming an endless cycle of exports.
Check whether the source has scratches, compression blocks, or aggressive sharpening. An upscaler may emphasize those defects. If a better scan or original exists, use it. For a physical photograph, a careful rescan often provides truer detail than enlarging a tiny social-media copy.
Make one controlled enlargement in Quby
Open Quby Upscaler and upload a photo you have the right to edit. The public page presents scale choices and a side-by-side preview. Choose the smallest factor that meets the output dimensions you need; a 4× version is not automatically better than a 2× version. Review the actual available controls in your account before committing credits or a batch.
Keep the original and the new export in separate files. Name the result with the scale and target size, such as family-portrait-2x-print-test.png. Avoid writing "restored original" into the filename. The enlarged image is an interpretation. If you later apply color correction or dust removal, save that as another version so you can identify which change improved or harmed the picture.
Use Quby's preview to compare at the same displayed size, not only at 100% zoom. Then inspect the exported image closely. Hair, eyelashes, jewelry, lettering, and patterned clothes are good stress tests. Do they look natural, or did the system invent sharp but false detail? A face can look polished while no longer resembling the person. For archival or documentary use, preserve the untouched original beside the edited version.
Inspect the print, not just the monitor
View the file at the approximate physical size and print a small proof if the final print matters. Monitors illuminate pixels and can hide problems that paper reveals. Look at skin texture, dark gradients, and repeating patterns. Check whether thin lines have ringing or bright halos. Ask someone familiar with the subject to review a portrait; a technically crisp image can still be the wrong person.
Do not stack multiple AI enlargements without a reason. Repeated passes can compound invented texture. If the first result is unconvincing, try a smaller factor or a better source. If text is unreadable in the original, do not treat newly readable letters as evidence of what the sign actually said. For records, labels, and legal or historical documents, rely on the source or independent documentation.
Print resolution and image quality are related but different. A larger pixel grid helps avoid visibly blocky output at a target size. It does not guarantee faithful colors, accurate details, or a good print profile. Adobe's print-resolution reference makes that distinction useful even if Quby is the tool doing the enlargement.
Decide whether the result is fit for use
Use a three-part acceptance check: the export meets the printer's pixel and file requirements; recognizable details remain faithful to the source; and a physical proof looks good at normal viewing distance. A photo can pass the first check and fail the other two. If the intended use is a personal keepsake, you may accept a visibly stylized interpretation. If it is evidence, a catalog image, or a family archive, show the edit as an edit and retain the source.
For a batch of old photos, test one representative image first. Choose one with a face, dark areas, and fine texture. Record the settings and outcome before applying the same factor to the rest. Different originals may need different treatment, so a single successful proof is a starting point rather than a guarantee.
Take the highest-quality source you have to Quby Upscaler, make one restrained enlargement, and order a small proof. The proof, original, and intended print size together tell you whether another pass is worth it.
Sources: Quby Upscaler and Adobe printed-image resolution.
Ready to Create with AI?
Put these techniques into practice with Quby's professional AI creative tools.
Launch Creative Suite