How Creators Should Test New AI Video Models Before Rewriting Prompts
New model previews are exciting, but creators need a repeatable test plan before changing prompts that already work. Use this guide to compare motion, references, cost, and editability without wasting a production day.
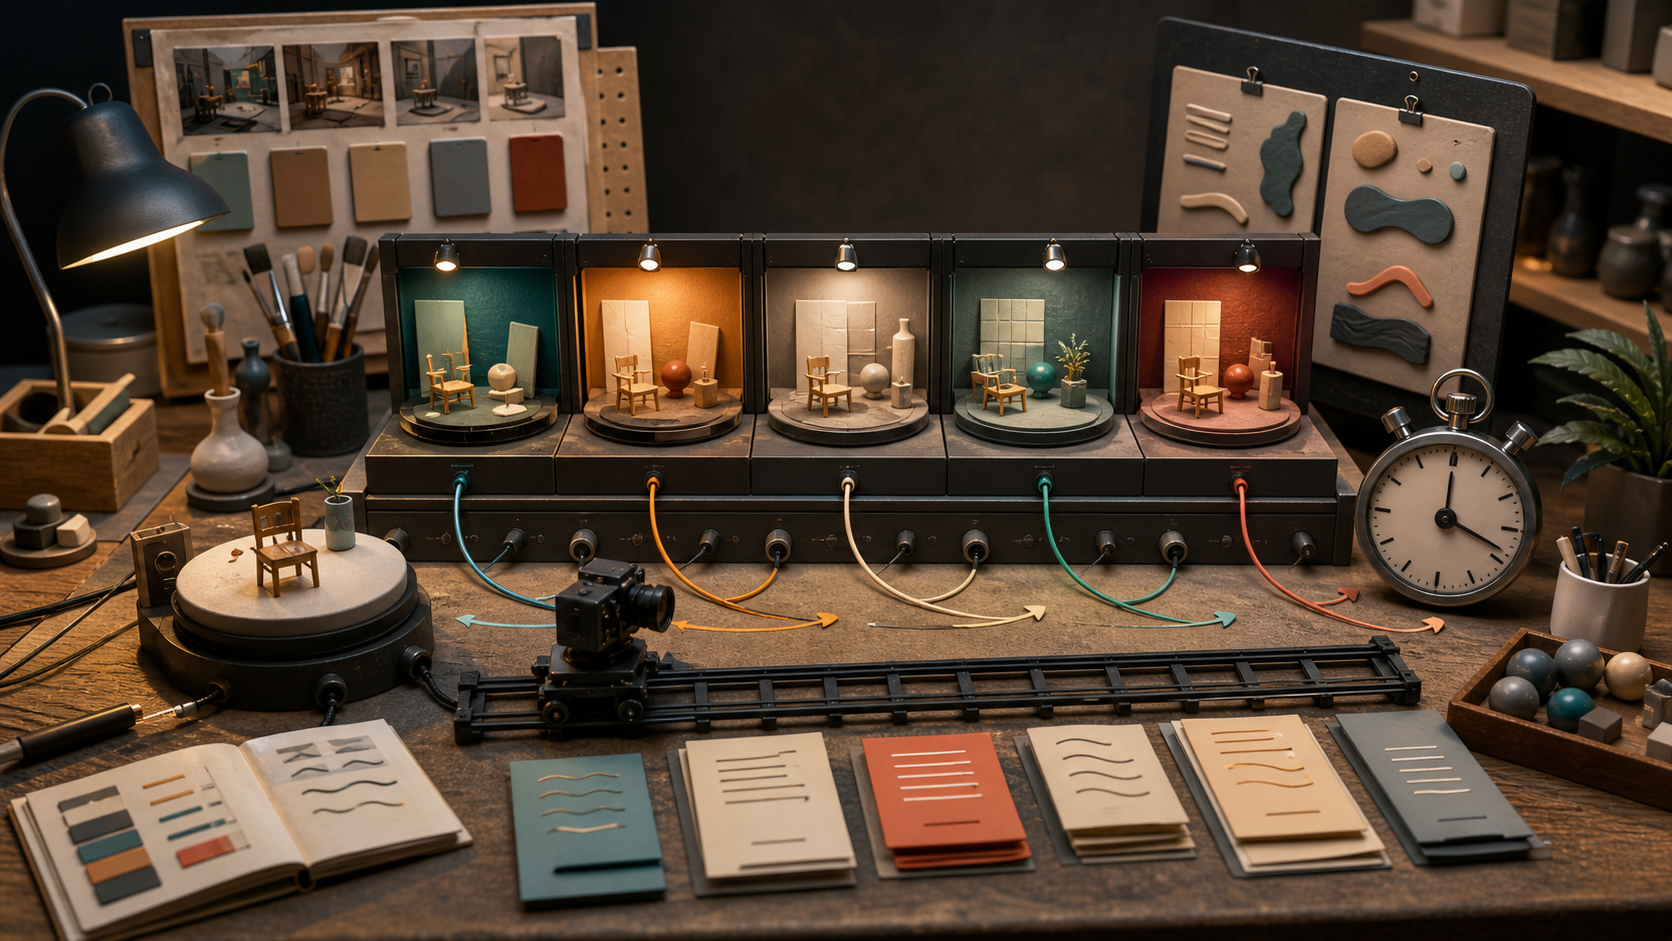
Every new AI model preview creates the same temptation: open your current prompt library, rewrite everything, and hope the next release makes yesterday's process obsolete. That is usually the expensive move. A new model can be better at motion, camera language, texture, text rendering, reference images, or instruction following, but it can also break a style that already works for your channel or client. For creators, the useful question is not "is this model better?" The useful question is "what should I trust it with this week?" Each format stresses different parts of a model. A practical test plan lets you compare models without turning your whole workflow into an experiment. Below is a compact way to test a new AI video or image model before you rewrite your prompt system. It works whether you are comparing Seedance, Runway, Kling, Veo, Sora, Grok Imagine, Seedream, Recraft, Flux, Imagen, or a model that was just previewed.
Start with a small benchmark set
Do not test a new model with random ideas. Build a set of five prompts that represent the work you actually publish. Keep them short enough that you can run them in several tools, but specific enough that the model has real instructions to follow. A good benchmark set for a creator might include:
- A product demo with controlled camera movement.
- A person or character doing a clear action.
- A brand visual with a strict color palette.
- An image reference or start frame test.
- A hard failure case from your current workflow. Save the exact prompt, input assets, settings, model name, date, duration, aspect ratio, and cost. If you use Quby, keep these tests as separate projects or labeled generations so you can compare outputs later instead of judging from memory.
Use prompt pairs, not single prompts
A single prompt only tells you whether the model liked one wording. Prompt pairs tell you how it responds to structure. Use a simple prompt and a directed prompt for the same idea. Simple prompt:
A ceramic coffee grinder on a kitchen counter, morning light, slow product reveal, 6 seconds.
Directed prompt:
Create a 6 second product demo of a matte white ceramic coffee grinder on a clean kitchen counter. Camera starts in a tight close-up on the handle, then slowly pulls back to reveal the full grinder. Keep the grinder shape consistent. Morning window light, soft shadows, neutral background, no hands, no text, no logos.
If the simple prompt looks better, the model may be strong at aesthetic guessing but weaker at production control. If the directed prompt wins, it is probably safer for client work where details matter. If both are messy, the model might not be ready for that use case yet.
Score what matters for real work
Creators often rate outputs as good or bad, then forget why. Use a scoring sheet with criteria that map to publishing decisions. Score each result from 1 to 5 on:
- Prompt obedience: did it follow the subject, action, and avoid list?
- Motion quality: does movement feel intentional rather than random?
- Reference respect: did it keep the uploaded image, product, face, or layout recognizable?
- Camera control: did pan, tilt, zoom, and framing happen as requested?
- Editability: can you fix the result with a short follow-up or does it need a full rerun?
- Brand fit: would this sit next to your existing videos without looking off?
- Cost per usable result: how many generations did it take to get one clip you would post? The last one matters most. A model that makes one beautiful output after ten failed attempts is not automatically cheaper than a less flashy model that gives reliable drafts every time.
Test references before testing style
The fastest way to find production value is to test how a model handles input images and start frames. Style can be adjusted later. Broken references are harder to fix. Try this image-to-video prompt with the same image in each model:
Animate the uploaded product photo into a 7 second vertical product demo. Keep the product shape, color, logo area, and material consistent. Add a slow clockwise turntable motion and a subtle camera push-in. Background stays clean and uncluttered. No new text, no extra objects.
Look for three things. First, does the product drift into a different object? Second, does the model invent extra labels or props? Third, does the first frame still match your uploaded image closely enough for a viewer not to notice the transition? For creator workflows, reference respect is often the difference between a fun demo and a tool you can use for paid work.
Keep one hard prompt in the test
Every creator has a prompt that should work but does not. Maybe it loses a hand position, ignores the second image, changes a package label, or turns a simple camera move into chaos. Keep one of those prompts in your benchmark. Example hard prompt:
Use image 1 as the product and image 2 as the background style reference. Create an 8 second 16:9 ad shot. The product stays centered and keeps its exact silhouette. The camera moves from a low front angle to a slightly higher three-quarter view. Add condensation on the table only, not on the product. No text, no label changes, no people.
If a new model solves your hard prompt cleanly, it deserves more testing. If it fails in the same way as your current tool, do not migrate yet. Put it in a narrow role, such as background plates, ideation, or alternate drafts.
Decide where the new model belongs
After five to ten tests, assign the model a job. Avoid vague conclusions like "better for video." Be specific. Use this decision grid:
- Use for ideation if it creates fresh visuals but ignores details.
- Use for product demos if shape and material stay stable across frames.
- Use for social clips if motion looks lively and minor drift is acceptable.
- Use for client drafts if two out of three runs are usable without heavy edits.
- Use for final delivery only if the cost per usable result is predictable.
- Skip for now if it cannot follow references or avoid lists. This is where Quby can help because the same prompt can move through video, image, and edit tools without losing the test context. You do not need to make every new model your main model. Sometimes the right answer is to use it for first-pass concepts and keep your current tool for final controlled output.
Build a reusable prompt card
When a model earns a place in your process, write a prompt card for it. The card should be short enough to use while working. Include:
- Best use cases.
- Settings that worked.
- Prompt structure that worked.
- Common failures.
- Words to avoid.
- A sample prompt. Example prompt card:
Model role: Vertical product demos with smooth camera movement.
Best settings: 9:16, 6 to 8 seconds, image reference, clean background.
Prompt pattern: subject first, camera move second, preservation rules third, avoid list last.
Avoid: long story prompts, multiple scene changes, heavy text requirements.
Sample: Animate the uploaded sneaker into a 6 second vertical demo. Keep the sneaker shape and colors unchanged. Camera starts close on the sole, then pulls back to a clean side view. Soft studio light, no text, no extra props.
Prompt cards stop your team from relearning the same lesson every week. They also make it easier to compare new releases fairly.
Run one publishing test
Before changing your normal workflow, publish one low-risk piece. Choose a format where small imperfections are acceptable, such as a short social post, a concept teaser, or a thumbnail motion test. Do not use the first public test for an important client delivery. Track the attempts, edit time, finishing tools, and audience response. If the result improves your normal output, move the model into a larger role. If not, keep the benchmark and test again after the next update.
A simple testing routine
Here is the full routine in one pass:
- Pick five benchmark prompts from real projects.
- Run simple and directed versions of each prompt.
- Score the outputs with production criteria.
- Test reference handling before style exploration.
- Include one hard failure case.
- Assign the model a narrow job.
- Write a prompt card.
- Publish one low-risk test. New AI releases will keep arriving. The creators who benefit are not the ones who switch tools the fastest. They are the ones who test with discipline, keep what works, and only change the parts of the workflow that actually improve. If you want to compare video models without rebuilding your setup, try the same benchmark prompts inside Quby Video Studio and keep the winner for your next production run.
Ready to Create with AI?
Put these techniques into practice with Quby's professional AI creative tools.
Launch Creative Suite