Real Time Voice AI Workflow for Product Demo Videos
Real time voice AI is useful when you treat it as a rehearsal partner for scripts, timing, and product shots. This guide shows a practical workflow for turning rough demos into tighter AI video prompts and voice tracks.
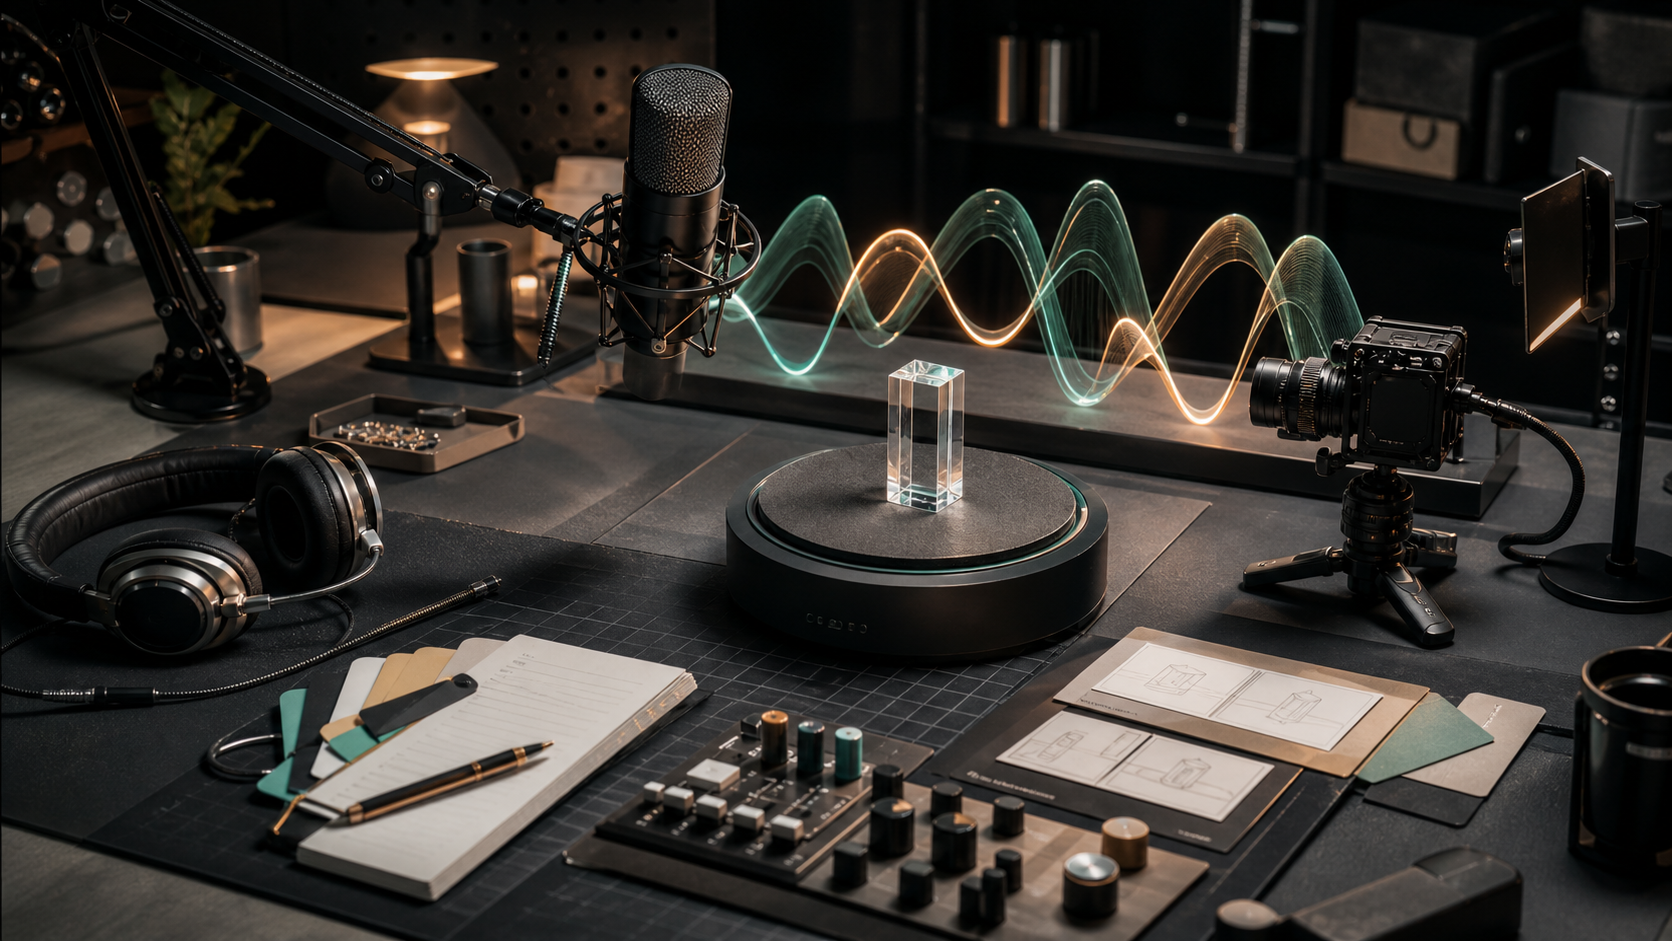
Why real time voice AI matters for demos
The useful part of the Hugging Face and Cerebras voice AI trend is not that creators can make another synthetic narrator. The useful part is speed. If a model can hear, respond, and revise quickly, a product demo can move from static prompt writing into live rehearsal. You can test the hook, hear where timing feels flat, adjust the shot list, and rewrite the voice line before you commit to a full video render. For creators, this changes the role of voice. Voice is not just the audio track at the end. It becomes the pacing tool. A script that sounds clear out loud usually gives better video prompts because it forces you to name the subject, action, benefit, and transition. If the spoken version feels muddy, the visual prompt is probably muddy too. This guide uses the real time voice idea as a practical workflow for product demos, short explainers, and social ads. It works whether you are generating the final video in Quby Video Studio, Runway, Kling, Seedance, Veo, Sora, or another video model.
Start with a one minute demo map
Before writing prompts, map the demo as five beats. Keep each beat small enough that it could become one shot.
- Problem: what is painful before the product appears?
- Product arrival: what object, screen, package, or tool enters the scene?
- Proof: what visible action shows the product working?
- Result: what has changed for the viewer?
- CTA: what should the viewer do next? For a product demo, avoid trying to explain everything. Pick one proof moment. A project management app might show a messy request turning into a scheduled task. A skincare product might show texture, application, and final glow. A creator tool might show a raw image becoming a short video concept. A simple map might look like this:
Problem: small business owner has a pile of product photos and no video ad.
Product arrival: creator opens a video workspace and drops in two photos.
Proof: the shot list, voice line, and product angle update together.
Result: a 12 second demo is ready to render.
CTA: try the same flow with your own product photo.
This map is short on purpose. It gives the voice AI something concrete to rehearse, and it gives the video model a clean structure instead of a long paragraph of mixed ideas.
Use voice rehearsal before video rendering
The fastest way to waste credits is to render a video before you know if the message works. Use the voice model as a rehearsal partner first. Speak the product idea in your own words, then ask for three tighter voice lines with different pacing. Prompt example:
I am making a 12 second product demo for a compact desk light. The viewer is a home office creator. Give me three voiceover options: one calm, one direct, one playful. Each option must be 22 to 28 words and should include one visible action the video can show.
Good output should not only sound nice. It should create shots. If a line says the desk light adapts to late night work, the shot can show the lamp shifting from cool white to warm focus light. If a line says no more harsh shadows, the shot can show a before and after product surface. If a line says setup takes seconds, the shot can show a hand placing the lamp, pressing one control, and moving away. After you pick a voice line, read it out loud at normal speed. If it runs past the planned duration, cut it before you touch the video prompt. Twelve seconds usually supports about 26 to 32 spoken words, depending on the speaker and pauses.
Turn the voice line into shot prompts
Once the voice line works, split it into two or three visual shots. The goal is not to describe the whole video in one prompt. The goal is to keep each generation focused. Example voice line:
Turn a flat product photo into a moving demo: pick the angle, add a clean voice cue, and show the benefit before viewers scroll.
Shot prompt set:
Shot 1, 4 seconds: A flat product photo on a creator desk comes alive as a camera rig slides into position, clean studio lighting, close product focus, no text.
Shot 2, 4 seconds: The creator workspace shows abstract audio waves aligning with cue cards and product angles, cinematic macro detail, no readable interface.
Shot 3, 4 seconds: The finished product demo plays on a small monitor while the product sits beside it, confident commercial lighting, no logos, no text.
Notice the prompts avoid vague mood words. They include subject, action, camera behavior, lighting, and constraints. That is the part many demos miss. The model needs to know what changes on screen, not just the brand feeling.
Decide when to use real time voice and when to skip it
Real time voice AI helps most when timing is uncertain. Use it when your demo has voiceover, a presenter style, a product walkthrough, customer education, onboarding, or a fast social hook. It is less useful for purely visual clips, ambient product beauty shots, or videos where music carries the pacing. Use this decision test:
If the viewer muted the video, would the shot still explain the product?
If yes, make the video first and add voice later.
If no, rehearse the voice first and let it shape the shot list.
Build a practical creator workflow
Here is a repeatable process you can use for each demo. Step 1: Write the one minute demo map. Keep it to five beats. Step 2: Ask the voice model for three voice lines in different tones. Do not ask for a full script yet. Step 3: Read each line out loud and time it. Remove filler before generating video. Step 4: Convert the chosen line into two or three shot prompts. Each shot needs one visible action. Step 5: Generate a low cost draft first. Use 720p or short duration when the model supports it. Step 6: Review the draft with three questions: does the product appear early, does the proof moment happen on screen, and does the voice line match the timing? Step 7: Only then polish with higher resolution, tighter camera language, or alternate models. In Quby, this workflow fits naturally inside a video project because you can keep prompts, reference images, and generated clips together. The important habit is to treat the voice line as a production note, not as a decoration added after the render.
Prompt patterns that work
Use short prompts with fixed limits. Real time voice models can drift if you ask for too much at once. For voice options:
Give me 3 voiceover lines for a 10 second product demo. Each line must be under 24 words. Each line must mention one visible action. Tone: practical, not hype.
For tightening:
Shorten this line by 20 percent. Keep the product benefit, remove filler, and make the first five words stronger.
For shot extraction:
Turn this voiceover into 3 video shots. For each shot, give subject, action, camera movement, and one thing to avoid. No text overlays.
For timing checks:
Estimate whether this voice line fits 12 seconds at normal speaking speed. If not, rewrite it to fit.
The key is to ask for decisions, not more adjectives. A good assistant should help you choose between timing, tone, and visual proof.
Common mistakes to avoid
Do not start with a long script. Long scripts produce unfocused videos. Start with the strongest single claim. Do not use the same prompt for voice and video. Voice prompts should optimize clarity and pacing. Video prompts should optimize visible action. Do not let the voice describe things the viewer cannot see. If the line says faster setup, show setup. If it says cleaner photos, show the before and after. Do not render the final version before testing the hook. A rough voice pass and one short draft can catch most weak ideas.
A simple Quby test
Try this on one product photo or one existing clip. Write a five beat map, generate three voice lines, pick one, and turn it into three short shots. Then render only the first shot. If the first four seconds do not make the product and benefit clear, fix the voice line before making the rest. That small test is enough to show whether real time voice AI belongs in your demo process. When it works, it gives creators a faster way to hear the message, shape the video, and avoid expensive guesswork before the final render.
Ready to Create with AI?
Put these techniques into practice with Quby's professional AI creative tools.
Launch Creative Suite