GPT-Live Voice Workflow for AI Product Demo Videos
OpenAI's GPT-Live points to a useful creator workflow: rehearse a demo out loud, turn the best moments into a shot list, then generate short video variations. Here is a practical process for creators using voice, prompts, and a video studio.
GPT-Live Voice Workflow for AI Product Demo Videos
OpenAI's GPT-Live launch is useful for creators because it points to a simpler way to plan videos: talk through the product, let the assistant challenge weak parts, then turn the best spoken moments into a shot list. A product demo rarely starts as a clean script. It usually starts as a founder explaining what changed, a marketer guessing the hook, or a creator trying five angles out loud before one finally sounds clear. GPT-Live is built for live voice conversation. OpenAI describes it as a model that can listen and speak at the same time, pause when interrupted, and hand deeper reasoning tasks to another model when needed. That matters less as a novelty and more as a production habit. If the model can keep up with your thinking, you can use voice as the rough-cut stage before you spend time generating assets. There is one practical limit to keep in mind. OpenAI says GPT-Live is rolling out in ChatGPT Voice and that API access is planned. It also says voice with video or screen sharing is not part of this first release. So treat GPT-Live as a rehearsal, diagnosis, and planning layer. Use it to shape the idea, not to watch your editor or inspect your timeline.
The creator workflow
The best use case is not asking GPT-Live to write a finished ad in one pass. The better workflow is to create pressure around the message. Talk through the demo like you would explain it to a skeptical customer. Ask the model to interrupt when the claim is vague, when the opening takes too long, or when the visual proof is missing. Start with this voice prompt:
You are my product demo producer. I will explain a product feature out loud. Interrupt me when I use vague language, when the first five seconds are weak, or when a visual proof shot is missing. After we talk, give me a 6-shot demo outline for a 25-second vertical video.
Then speak normally. Do not perform. Explain the feature, the user problem, what changes on screen, and why someone should care today. The point is to find the sentences that survive conversation. If a line sounds awkward out loud, it will probably feel worse in a short video.
Turn the conversation into a demo spine
After the voice pass, ask for a three-part spine. This keeps the video from becoming a list of features.
Turn our conversation into three beats: hook, proof, payoff. For each beat, give me one visual action, one spoken line, and one on-screen object. Keep it concrete and avoid abstract claims.
A good answer should feel filmable. For example, not "show productivity gains," but "show a messy product photo becoming three clean ad variations on a desk monitor." Not "explain faster editing," but "show a cursor replacing three manual steps with one accepted suggestion." If the visual action is not obvious, ask one more question:
Which part of this demo should be shown as a before and after? Which part should be shown as a close-up? Which part should be skipped because it only makes sense in text?
That question saves time. Many AI product videos fail because every claim gets the same visual weight. A setup shot, a proof shot, and a result shot should not look identical.
Decide what should be voice, text, image, or video
Use simple criteria before opening your editor. Use voice when the message is still fuzzy. If you cannot explain the value in one plain sentence, stay in conversation mode. Use text prompts when the sequence is already clear. If you know the camera angle, object, action, and duration, a written prompt will usually give you more control. Use image generation when the product needs a clean hero frame, package shot, thumbnail, or before-and-after frame. Use video generation when the motion proves the value: a transformation, a handoff between steps, a character reaction, or a product moving through a scene. For Quby Video Studio, the useful handoff is a shot list, not a long essay. Each scene should contain one action, one subject, one camera instruction, and one success condition. The tighter the scene, the easier it is to compare outputs.
Convert the spine into prompts
Here is a practical prompt format you can reuse:
Create a 6-second product demo shot. Subject: a creator's desk with a product mockup on a small turntable. Action: the rough concept turns into three polished ad frames around it. Camera: slow push-in, 35mm lens feel, shallow depth of field. Mood: focused and practical. Success condition: the viewer understands that one rough idea became multiple usable demo assets. Avoid text, logos, and UI screenshots.
For a software product, keep it less literal:
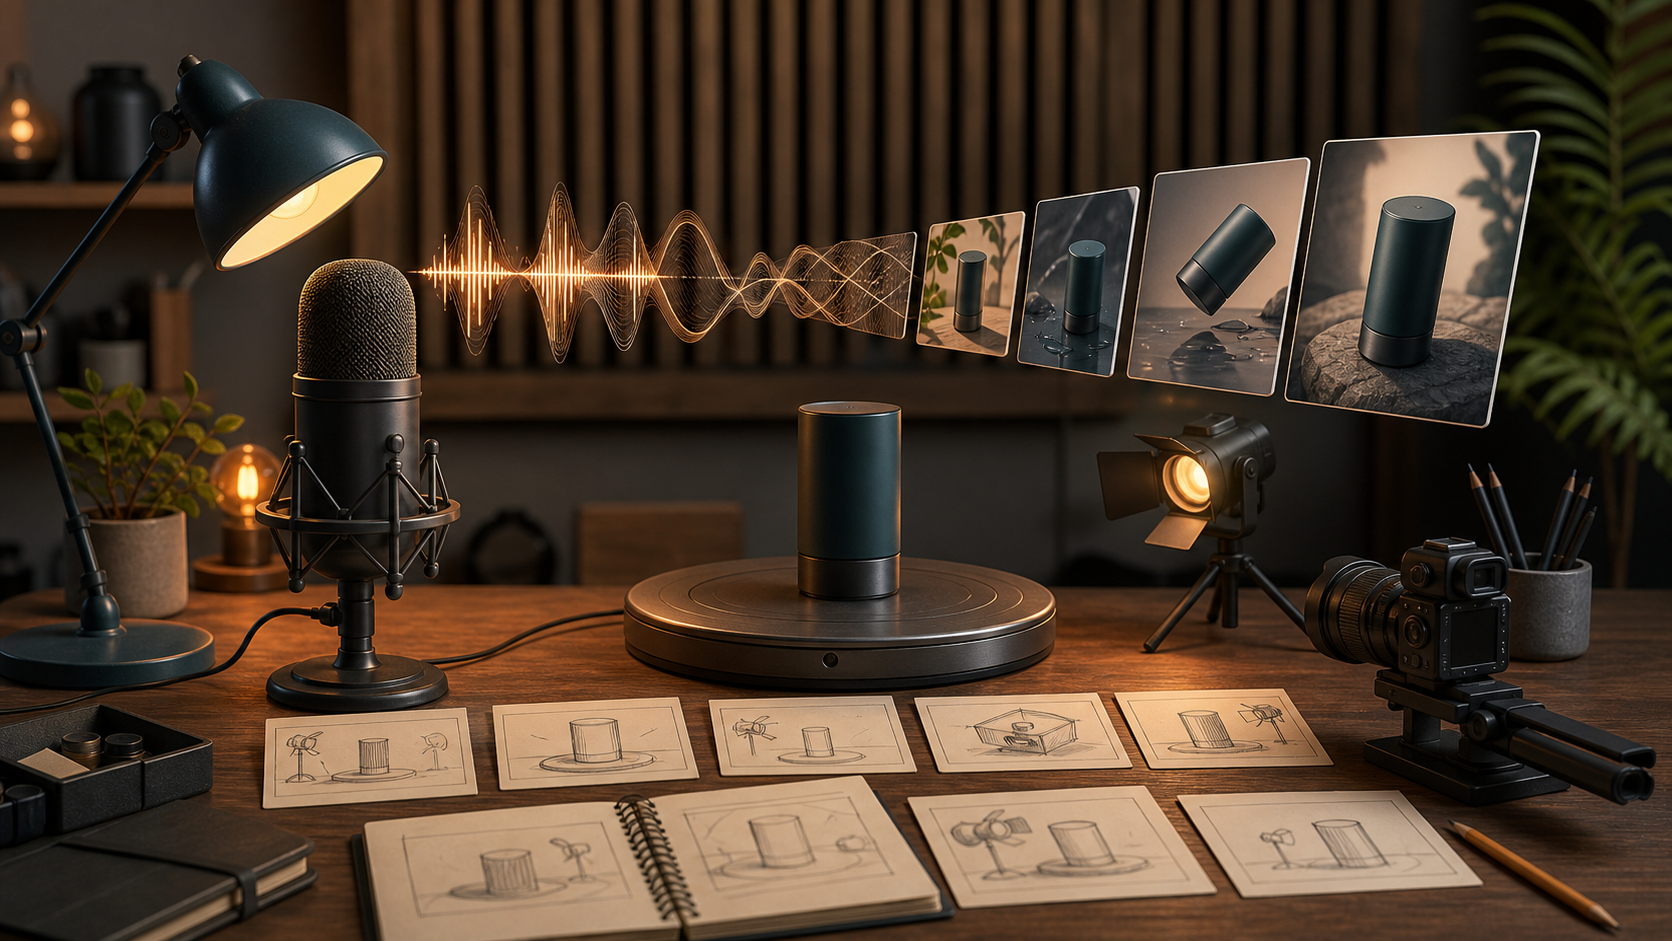
Create a 5-second abstract product demo shot. Subject: blank storyboard cards on a workbench. Action: audio waveform ribbons flow into the cards, and each card becomes a different visual scene. Camera: top-down to slight angle move. Mood: calm creator planning session. Success condition: voice rehearsal clearly becomes a video plan. Avoid text, logos, numbers, and app interface screens.
Use the same structure for every shot. Change only the subject, action, camera, and success condition. This makes iteration easier because you know what changed.
Build a quick evaluation pass
Before generating more variations, grade the first output against five checks:
- Can someone understand the promise with the sound off?
- Does the first shot create curiosity in two seconds?
- Is the proof visual, or is it just decoration?
- Does the motion show a change that matters?
- Would this shot still work if the voiceover changed later? If the answer to two or more questions is no, return to the voice pass. Ask GPT-Live to challenge the weak part instead of forcing the editor to rescue it. A useful repair prompt is:
Our first visual plan is too vague. Give me three alternative proof shots that show the product benefit without text, logos, or screenshots. Each idea must be possible as a 5-second generated video.
This keeps the process fast. You are not asking for magic. You are asking the model to propose testable visual choices.
Where it fits
Quby is most useful after the voice session has turned into a compact scene plan. Paste one scene at a time, generate a short pass, then compare outputs by the promise they communicate. Do not judge only on beauty. Judge on whether the viewer understands the product faster than they did before. For thumbnails, use the same metaphor as the video. If the article or demo is about voice becoming a product plan, show the microphone, the workbench, and the storyboard transformation. Do not add text unless the layout truly needs it. A clean image-only thumbnail often travels better across blog, social, and product pages. Near the end, record a final voiceover after the visuals are chosen. That order matters. If you write the voiceover first, you may trap yourself into visuals that are expensive or unclear. If you build the visual proof first, the voiceover can simply explain what the viewer already sees. When the shot list feels ready, open Quby Video Studio and test the strongest two scenes before building the full sequence. A short proof pass will tell you whether the idea is worth expanding.
Bottom line
GPT-Live should change how creators prepare product demos, not just how they chat with an assistant. Use live voice to stress-test the message. Use written prompts to lock the shots. Use generated video for the moments where motion proves the claim. That mix turns a messy spoken idea into a demo people can understand quickly.
Ready to Create with AI?
Put these techniques into practice with Quby's professional AI creative tools.
Launch Creative Suite