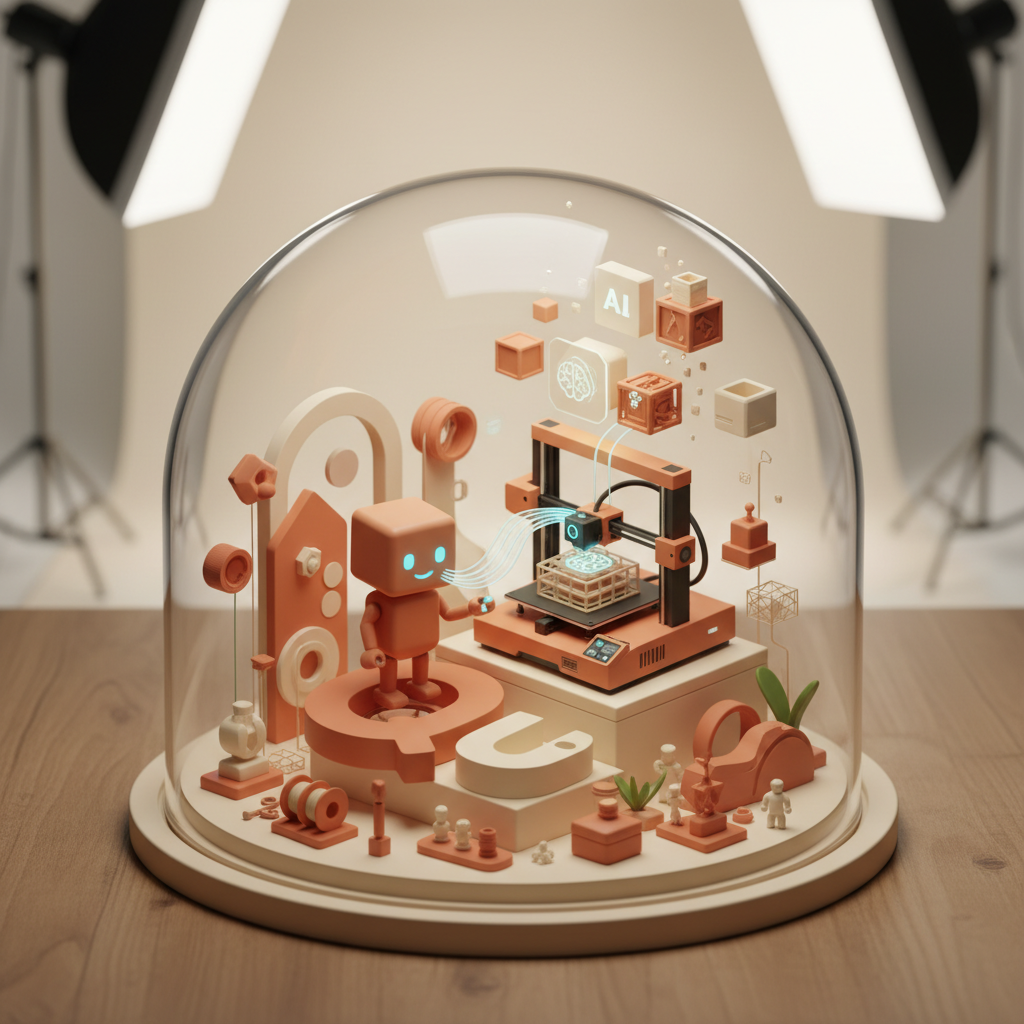
From Prompt to Perfect Print: Your 2026 Guide to AI 3D Models for Flawless 3D Printing with Quby
Tired of CAD? By 2
The 2026 Revolution: Bridging Text Prompts and Tangible 3D Prints
Remember when making a 3D model meant spending hours hunched over CAD software, wrestling with vertices and faces? Good times, right? Or maybe not. Fast forward to 2026, and the scene looks wonderfully different. What if you could just tell a computer what you wanted, and it delivered a ready-to-print 3D model? That's not science fiction anymore, it's our everyday reality, thanks to the incredible leaps in AI.
This year, we're not just dreaming about generating "text to 3d model AI" concepts; we're holding them in our hands. The journey from a simple text description to a physical object on your workbench has never been faster or more accessible. And for anyone looking to truly harness this power, a good "ai 3d generator" like the one you'll find at Quby is your new best friend. We're talking about a genuine revolution for makers, designers, and hobbyists alike. The ability to articulate an idea and watch it materialize, first digitally, then physically, feels like magic. But it's really just brilliant engineering and smart algorithms at play.
So, if you've been curious about "ai for 3d printing," or you're ready to ditch the steep learning curve of traditional modeling, you're in the right place. This guide will walk you through everything you need to know about transforming your wildest textual imaginings into perfect 3D prints, all within the latest context of 2026. Get ready to embrace the future of creation.
Navigating the 2026 AI 3D Landscape: Meshy v4, Trellis, Rodin Gen-2, and Tripo3D v3
The world of AI in 2026 is moving at warp speed. We've got incredible AI image models like FLUX 1.1, Grok Imagine, Gemini 2.5, GPT-5 DALL-E, and Ideogram 3.0 creating stunning visuals. On the video front, Veo 3.1, Runway 4.5, Kling 3, Minimax Video-02, and Sora 2.0 are blurring the lines between reality and imagination. But what about the third dimension? That's where things get really exciting for us makers.
This year, the major players in the "2026 3d modeling ai" space are pushing boundaries like never before. You've probably heard buzz about them:
- Meshy v4: This iteration is a powerhouse for rapid asset generation, often favored for game development and quick prototyping. Its ability to generate clean, textured meshes from surprisingly simple prompts is impressive.
- Trellis: Known for its focus on structural integrity and engineering-grade models, Trellis is particularly interesting for objects that need to be functional. It often produces models with optimized geometry, which is a huge plus for "ai for 3d printing."
- Rodin Gen-2: While often highlighted for its lifelike character generation, Rodin Gen-2 also excels at creating intricate organic forms and highly detailed environmental assets. If your print needs a touch of realism or complex curvature, it's worth exploring.
- Tripo3D v3: This model is making waves for its versatility, handling a broad spectrum of object types from abstract art to everyday items. Its user-friendliness makes it a favorite for many looking to "create 3d models free" initially and explore the possibilities.
Each of these models has its strengths, but the real magic often happens when you use a comprehensive platform like Quby to interact with and refine these outputs. Quby acts as your central hub, giving you a streamlined interface to tap into the capabilities of these advanced generators, tweak their results, and get your models ready for the real world. It's not just about what the AI can create, but how easily you can control that creation.
Mastering the Prompt: Designing Your Vision for Quby's 3D Generator
Think of a prompt as your direct line to the AI's imagination. It's the conversation starter. But like any good conversation, the more detail and clarity you offer, the better the response you'll get. When using an "ai 3d generator," especially one powered by Quby, your prompt is everything. This isn't just about throwing a few words out there; it's about crafting a precise instruction that guides the AI toward your desired "text to 3d model ai" outcome.
Here are some pro tips for mastering your prompts in 2026:
- Be Specific, Not Vague: Instead of "A car," try "A sleek, futuristic sports car, metallic dark blue, glowing red headlights, parked on a reflective surface." See the difference? More detail gives the AI more to work with.
- Describe the Style and Aesthetic: Do you want photorealistic, stylized, cartoonish, low-poly, or something abstract? Specify it. "A fantastical creature, highly detailed, steampunk style, brass and leather textures."
- Include Material and Texture Cues: Even if the AI doesn't generate perfect textures for printing, describing them helps define the form and surface characteristics. "Rough stone texture," "smooth polished chrome," "fuzzy felt."
- Define the Environment (If Relevant): Sometimes, describing the setting helps the AI understand the object's context and scale. "A small, weathered wooden chest, sitting on a sandy beach."
- Use Adjectives and Adverbs Liberally: "Intricate," "ornate," "smoothly," "sharply defined," "gently curved." These words are your brushstrokes.
- Consider Negative Prompts: Just as important as what you do want is what you don't want. Many "2026 3d modeling ai" tools, including Quby's generator, allow for negative prompts. For example, you might add: "ugly, blurry, deformed, simple, low quality."
- Iterate, Iterate, Iterate: Your first prompt might not be perfect. That's okay! Generate a model, see what you like and don't like, then adjust your prompt. Add more detail, remove conflicting terms, try new keywords. It's a dance between you and the AI.
Let's look at an example. Say you want a cool chess piece.
- Bad Prompt: "Chess knight." (You'll get a generic knight, probably not what you envisioned.)
- Better Prompt: "A highly detailed chess knight, made of polished obsidian, stylized like a powerful warhorse rearing up, dark and menacing aesthetic, sharp angles, intricate mane detail, sitting on a marble base."
- Even Better (with negative prompt): "A highly detailed chess knight, made of polished obsidian, stylized like a powerful warhorse rearing up, dark and menacing aesthetic, sharp angles, intricate mane detail, sitting on a marble base. --no simple, cartoonish, dull, soft edges."
This level of specificity is what transforms a simple request into a genuinely unique creation, ready for the "quby 3d generator" to bring to life.
From Concept to Creation: Generating and Refining Models with Quby
Alright, you've mastered the prompt. Now comes the exciting part: seeing your vision take shape. With Quby, the process of turning your text into a raw 3D model is surprisingly straightforward.
Once you input your carefully crafted prompt into Quby's "ai 3d generator," the magic begins. The system processes your request, leveraging the power of advanced models like Meshy v4 or Rodin Gen-2 behind the scenes, and typically presents you with a few variations of your desired object within moments. This initial generation is often a rough draft, a starting point. Don't expect perfection right out of the gate every single time; that's where the "refinement" step comes in.
Quby isn't just a basic "text to 3d model ai" tool; it's a creative suite. After the initial generation, you'll have options to:
- View and Evaluate: Spin your model around, zoom in, and check it from all angles. Does it capture the essence of your prompt? Are there any obvious flaws or misinterpretations?
- Iterate on Prompts: If the initial results aren't quite there, you can easily tweak your prompt right in Quby and generate new variations. This rapid feedback loop is invaluable.
- Basic Model Adjustments: Quby often provides tools for simple modifications. You might be able to adjust the overall scale, position, or even apply basic mesh simplification if the initial model is too complex for your printer or intended use.
- Remeshing and Optimization: Sometimes, the raw output from an AI generator can have messy geometry. Quby includes features that can help clean up these meshes, making them more suitable for "3d printing from text." This might involve uniformizing face sizes or sealing small holes.
- Export for Further Work: If you need more intricate sculpting or detailing, Quby allows you to export your models in standard formats like OBJ or STL. This means you can take your AI-generated base model into traditional 3D software (like Blender or ZBrush) for fine-tuning before bringing it back for print prep. It's a powerful hybrid workflow.
The beauty of a platform like Quby is that it democratizes the "create 3d models free" concept, or at least makes initial creation incredibly accessible. You don't need years of training; you need a good idea and the patience to guide the AI. Remember, AI is a powerful assistant, not a mind reader. Your role as the creative director remains essential.
Prepping for the Printer: Optimizing AI 3D Models for Flawless Output
Generating a stunning 3D model with "text to 3d model ai" is one thing, but getting it to print perfectly is another. This is where the digital world meets the physical, and it requires a bit of foresight. AI-generated models, while amazing, aren't always print-ready straight out of the box. You'll need to optimize them for "ai for 3d printing."
Here's how to ensure your Quby-generated model transitions smoothly to your 3D printer:
- Check for Manifold Geometry: This is probably the most crucial step. A manifold model means every edge is shared by exactly two faces, creating a watertight mesh with no holes, self-intersections, or inverted normals. Think of it like a perfectly sealed balloon; it holds air. Non-manifold geometry can cause nightmares for slicers. Tools within Quby, or external software you export to, can often detect and repair these issues.
- Wall Thickness: Consider the minimum wall thickness your specific 3D printer and material can handle. AI models don't always consider this, so you might end up with delicate features that are too thin to print or too fragile to survive. If a part looks too thin, you might need to thicken it in a separate modeling program after exporting from Quby.
- Mesh Density and File Size: AI models can sometimes be overly dense, meaning they have way more polygons than necessary. While this looks good on screen, it can slow down your slicer and even your printer. Use mesh simplification tools to reduce polygon count without losing significant detail. Quby often has options for this, helping you "create 3d models free" of unnecessary complexity.
- Scale and Orientation: Ensure your model is scaled correctly for your printer's build volume and its intended real-world size. Also, orient the model in a way that minimizes the need for supports and maximizes print quality. Laying it flat on a large surface often works best.
- File Format: The most common file formats for 3D printing are STL (stereolithography) and OBJ (object). Quby will typically export in these standard formats, ensuring compatibility with virtually any slicer software.
- Slicer Settings: Once your model is optimized and exported, load it into your slicer (PrusaSlicer, Cura, Simplify3D, etc.).
- Supports: The AI won't automatically add supports. You'll need to generate these in your slicer for any overhangs that your printer can't bridge.
- Infill: Choose an appropriate infill percentage based on the strength you need.
- Layer Height: Finer layer heights mean more detail but longer print times.
- Print Speed and Temperature: These depend on your material and printer.
By paying close attention to these details, you'll significantly improve your chances of getting a perfect physical output from your "3d printing from text" endeavors. It's the critical link between your digital dream and your tangible reality.
Beyond the Basics: Advanced Techniques and Troubleshooting for 2026 Makers
As you get comfortable with "text to 3d model ai" and Quby's capabilities, you'll naturally want to push the boundaries. This is where advanced techniques come into play, and where you learn to troubleshoot the inevitable hiccups. The "2026 3d modeling ai" tools are incredibly powerful, but they still require a human touch for truly exceptional results.
Advanced Techniques:
- Hybrid Workflows: Don't feel you have to rely solely on AI. Often, the best results come from a hybrid approach. Use Quby to generate complex base forms or intricate details that would be tedious to model manually. Then, export that model and bring it into traditional CAD or sculpting software (like Blender, Fusion 360, or ZBrush) for precise modifications, boolean operations, or adding functional elements like screw holes or interlocking parts. This lets you "create 3d models free" from the limitations of either approach alone.
- Scene Generation: Some advanced prompts can generate entire small scenes with multiple objects. Experiment with describing relationships between objects, lighting, and textures to see what the AI can produce. You might generate a scene, then extract individual elements for printing.
- Texturing for Realism (and future printing): While 3D printing is typically monochrome or multi-color based on filament, AI-generated textures are still valuable. They guide the AI in creating more detailed geometry and can serve as a reference if you plan to paint your prints later. Some advanced multi-material printers in 2026 can even use simple texture maps.
- Prompt Chaining: For complex projects, consider generating elements separately and then combining them. For example, generate a detailed character, then a separate pedestal, and finally merge them in Quby or an external editor.
- Leveraging AI for Optimization: Beyond initial generation, AI is starting to play a role in optimizing prints themselves. Some newer slicers in 2026 are using AI to suggest optimal support structures, print orientations, or even internal infill patterns for maximum strength and minimal material. Keep an eye on these developments for "ai for 3d printing."
Troubleshooting Common 2026 AI 3D Printing Issues:
Even with the best "quby 3d generator" tools, things can go wrong. Don't worry, it's part of the maker journey!
- Model Generation Errors:
- Issue: "AI couldn't generate a suitable model."
- Fix: Your prompt might be too vague, too contradictory, or requesting something beyond the current AI's capabilities. Simplify, clarify, or try a completely different approach. Break complex ideas into smaller parts.
- "Holey" or Non-Manifold Models:
- Issue: Your slicer reports errors, or the printed model has gaps or strange artifacts.
- Fix: This is usually a mesh integrity problem. Use Quby's repair tools or load the model into a dedicated mesh repair program (like Meshmixer or Netfabb Basic) to make it watertight.
- Lost Detail on Print:
- Issue: Your AI-generated model looks amazing on screen, but the print lacks fine details.
- Fix: Check your printer's capabilities (nozzle size, minimum layer height). The detail might be too small for your printer to resolve. You might need to simplify the model slightly or upscale it. Also, verify your slicer settings aren't overly aggressive with simplification.
- Warping or Poor Adhesion:
- Issue: Print lifts off the bed or warps during printing.
- Fix: This is a classic 3D printing problem, not specific to AI. Ensure your bed is level, clean, and has good adhesion (glue stick, hairspray, PEI sheet). Check print temperatures and cooling settings. A brim or raft in your slicer can often help.
- Excessive Supports:
- Issue: Your model requires a ton of supports, making cleanup a chore and potentially damaging the print.
- Fix: Reorient the model in your slicer to minimize overhangs. Sometimes, a slight rotation can drastically reduce support material. You might also need to slightly redesign parts of the model (manually or by adjusting the AI prompt) to be more self-supporting.
Learning to diagnose and fix these problems is how you truly become a master of "3d printing from text." Each "failed" print is just an opportunity to learn something new.
The Future is Tangible: What's Next for AI-Powered 3D Printing
We've covered a lot about where "ai 3d generator" tools stand in 2026, but let's pause and look ahead. The pace of development is astounding, and what we're seeing now is just the beginning. The future of "ai for 3d printing" promises an even more integrated, intelligent, and accessible creative process.
Imagine a future where:
- Real-time Design and Optimization: You describe an object, and an "ai 3d generator" instantly presents multiple, fully optimized, print-ready designs. As you verbally tweak parameters ("make it stronger here," "add a smoother curve there"), the model updates in real-time, even simulating the print process or stress testing.
- AI-Designed Internal Structures: Beyond external forms, AI will become adept at designing the internal geometry of objects, creating lightweight, incredibly strong lattice structures specifically tailored for a given material and load. This will push the boundaries of functional parts made from "3d printing from text."
- Material-Aware Generation: AI will understand the nuances of different printing materials. A prompt for "a flexible phone case" will automatically generate geometry suitable for TPU, while "a rigid bracket" will be optimized for PETG, considering things like shrinkage and stiffness from the outset.
- Automated Slicer Integration: Your "text to 3d model ai" output won't just be an STL file; it will be a smart file that carries embedded print recommendations, automatically configuring your slicer for optimal layer height, infill, and support placement based on AI analysis.
- Personalized Production: The ability to "create 3d models free" from traditional design constraints will unlock hyper-personalized product design and on-demand manufacturing. From custom orthotics to bespoke home decor, AI will make it easy for anyone to design and print exactly what they need.
- From Concept to Print in Minutes: The entire workflow, from idea to physical object, could shrink from hours or days to mere minutes. You could describe a spare part for an old appliance, have the AI generate it, and send it directly to your printer, all within a single interface like an advanced Quby.
The "2026 3d modeling ai" landscape is already a wonderland for creators. But the horizon holds even more incredible possibilities. The blend of human ingenuity and artificial intelligence is reshaping how we conceive, design, and ultimately, bring our ideas into the physical world. It's an exciting time to be a maker, and with tools like Quby, you're right at the forefront of this tangible revolution.
Ready to turn your ideas into physical objects? Head over to quby.app and try out the AI 3D generator for yourself. Experiment with your prompts, explore the possibilities, and start printing your wildest dreams today.
Ready to Create with AI?
Put these techniques into practice with Quby's professional AI creative tools.
Launch Creative Suite