Your 2026 Blueprint: How to Create Flawless 3D Models for Printing with AI Text Generators
Unlock 2026's magic. Generate
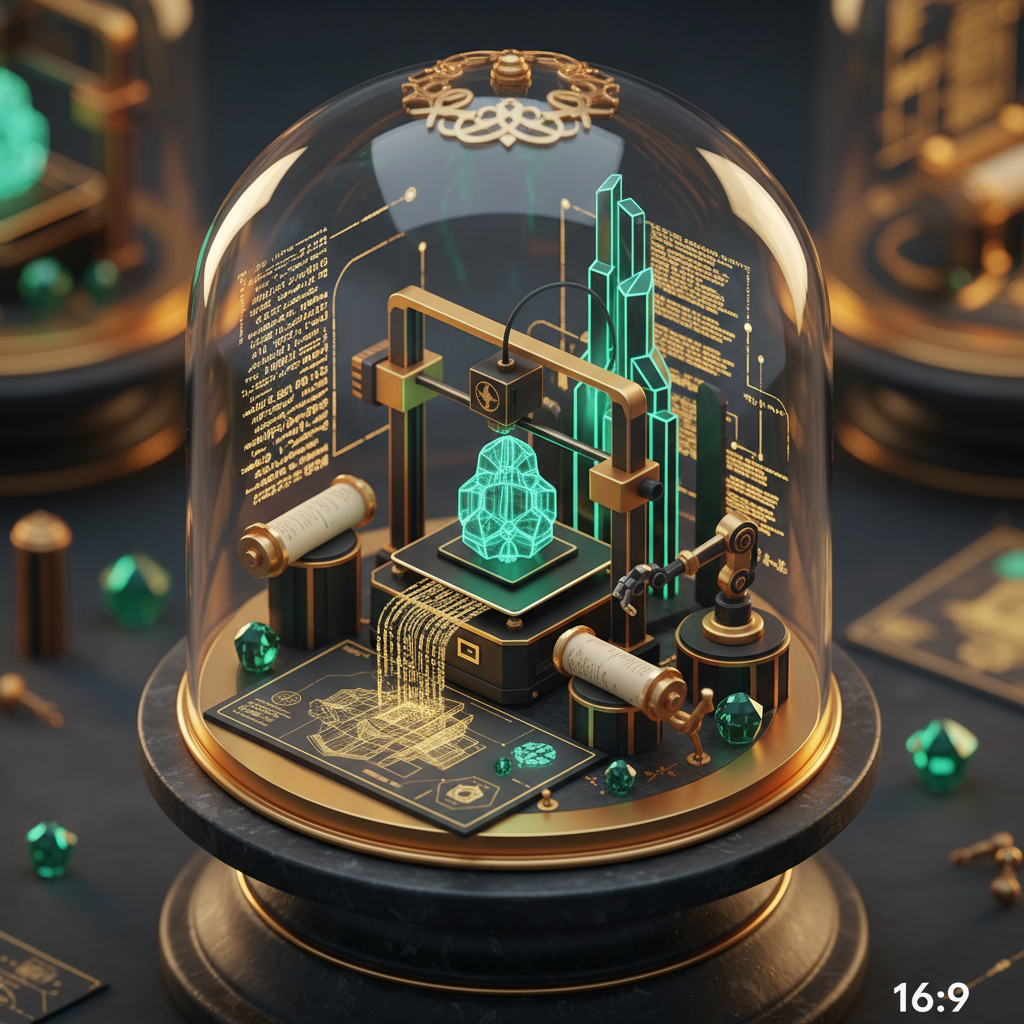
The 2026 Revolution: Text to Tangible with AI 3D Generators
Remember back in 2023, when AI image generators first exploded? It felt like magic. Now, in March 2026, we're seeing that same kind of incredible leap, but this time, it's jumping straight into the physical world. What used to take days of intricate CAD work or expensive 3D scanning, you can now conjure up with a few well-chosen words. We're talking about the incredible power of text to 3d model ai, a technology that's completely changing how we design, prototype, and even create art.
The dream of simply describing an object and having it appear, ready for production, isn't some far-off sci-fi fantasy anymore. It's here, it's mature, and it's getting more powerful every single day. If you've ever wanted to turn an idea in your head into a physical object, especially through 3D printing, then 2026 is your year. The tools are more accessible, more intuitive, and frankly, just plain better than anything we've had before. You can skip the steep learning curve of traditional 3D software and go straight to creation. This guide will show you exactly how to make the most of this amazing technology, ensuring your AI-generated models are flawless and ready for the printer.
Navigating the 2026 AI 3D Landscape: Quby and Beyond
So, where do you even begin when you want to create 3d models free or with a subscription? The landscape of ai 3d modeling 2026 has grown significantly, offering a range of specialized tools. We've seen incredible advancements from platforms like Meshy v4, which boasts impressive mesh generation and texture mapping capabilities. Then there's Trellis, known for its focus on architectural and structural designs, making it a favorite for engineers and urban planners. Rodin Gen-2 is a standout for organic shapes and character design, perfect for game developers or artists looking for unique figures. And Tripo3D v3 has really pushed the boundaries on photorealistic textures and complex geometries.
Each of these systems has its own strengths and quirks, and choosing the right one often depends on what you're trying to build. Some excel at hard-surface modeling, others shine with intricate details or realistic materials. But here's the thing: while these individual AI generators are powerful, they often require you to jump between platforms, export, import, and maybe even clean up meshes in a separate tool. It can get a bit clunky, you know?
That's where a platform like Quby comes in. Think of Quby not just as another ai 3d generator, but as your central command center for all things AI creative. It's designed to bring together the best of these individual AI capabilities, often through integrations or by offering its own optimized models, and then add a layer of user-friendly controls. Quby helps you manage your prompts, refine your outputs, and even prepare your models for the next step, like 3D printing. It's about simplifying the workflow, letting you focus on the creative vision instead of wrangling different software. You can even try out some basic text to 3d model ai features for free to get a feel for the process. Visit quby.app to explore what's possible.
Crafting the Perfect Prompt: Mastering 'Text to 3D Model AI' for Print Quality
Alright, this is where the rubber meets the road. If you want a perfect model for 3d printing from text, your prompt is everything. It's not just about describing what you want, it's about giving the AI enough information to build a structurally sound, printable object. Think like an architect, a sculptor, and a printer all at once.
Here's how you master prompt engineering for print-ready 3D models:
- Be Specific, Not Vague: "A car" is bad. "A sleek, futuristic sports car, two-seater, with aerodynamic curves and large, spoked wheels, obsidian black finish" is much better. The more detail, the better.
- Define Dimensions and Scale: This is absolutely critical for printing. You might not define exact millimeters, but indicate relative size. "A small, delicate bird figurine, suitable for a desktop," or "A large, sturdy bracket to hold a shelf." If you need precision, add it: "A 50mm cube with a hollow interior and 2mm thick walls."
- Specify Material Properties (for aesthetic intent): Even though the AI doesn't know your printer's filament, describing materials helps define visual characteristics. "Made of polished chrome," or "with a rough, natural wood texture," or "smooth, matte plastic." This influences surface detail and how light interacts with the virtual model, translating to better physical aesthetics.
- Consider Structural Integrity: This is especially important for printing. Think about overhangs, thin walls, and unsupported elements.
- Bad: "A statue of a person balancing on one leg, arms outstretched." (Likely will have printing issues with arms and balance)
- Good: "A sturdy statue of a person in a heroic pose, feet firmly planted, arms resting on hips, solid base." Or, if you want the first, you'd add: "designed with minimal overhangs, suitable for FDM printing."
- Focus on Form and Function: If your model has a function, describe it. "A cylindrical pen holder with three compartments," or "a decorative vase, stable and wide at the base, tapering to a narrow neck."
- Use Negative Prompts (if your AI supports them): Just as important as telling the AI what you want, is telling it what you don't want. "Not hollow," "without sharp edges," "no intricate filigree." This helps guide the AI away from undesirable features that might complicate printing.
- Iterate and Refine: Your first prompt probably won't be perfect. Generate a model, analyze it, and then adjust your prompt. Add more detail, remove conflicting descriptions, or focus on a specific area that needs improvement. AI tools like Quby often provide ways to visualize and tweak outputs rapidly, saving you time.
Let's look at a couple of examples for text to 3d model ai:
Example 1: Simple Object
"A small, sturdy rectangular box with a hinged lid. Dimensions roughly 100mm long, 50mm wide, 30mm high. The walls should be 2mm thick. Smooth, matte finish. No internal compartments. Simple, functional hinge on the long side."
Example 2: More Complex, Artistic Object
"An elegant, stylized dragon figurine, coiled defensively. Scales should be pronounced but smooth, no sharp spikes. Wings folded tightly to its back. Stable base, suitable for display on a shelf. Roughly 15cm tall. Textured to appear like polished bronze. Designed with minimal unsupported areas for FDM printing."
See the difference? We're not just asking for "dragon," we're defining its posture, scale detail, wing position, stability, texture, and even considering the 3D printing process in the initial prompt. That's the secret to getting printable results directly from your text inputs.
From Digital File to Physical Object: Preparing Your AI-Generated Model for 3D Printing
You've generated your amazing 3D model using an ai 3d generator. Fantastic! But it's not quite ready for your printer yet. There are a few crucial steps to take to ensure a smooth transition from screen to physical object. This stage is where you truly bridge the gap from text to 3d model ai to tangible creation.
First up, file formats. Most 3D printers, and especially their slicing software, prefer specific file types. The most common and widely supported are STL (Stereolithography) and OBJ (Wavefront Object). Some newer slicers also handle GLB (Binary GLTF) well. When you export your model from Quby or whichever ai 3d modeling 2026 tool you're using, make sure it's in one of these formats. If you only get an obscure format, you might need a conversion tool, but generally, the big players will offer STL or OBJ as standard export options.
Next, you absolutely need to inspect and repair your mesh. AI-generated models, while increasingly good, can sometimes have imperfections. We're talking about things like:
- Non-manifold edges: Where a single edge is shared by more than two faces. Your printer won't know what to do here.
- Flipped normals: Faces pointing inward when they should be outward.
- Holes in the mesh: An object needs to be "water-tight" for a 3D printer to understand its volume.
- Intersecting geometry: Parts of the model passing through each other, creating confusion.
Software like Blender (it's free and incredibly powerful), Meshmixer, or even some advanced slicing programs have tools specifically for mesh analysis and repair. You'll want to load your STL or OBJ file into one of these, run an inspection, and fix any errors. Don't skip this step! A poorly prepared mesh means a failed print, wasted filament, and a lot of frustration.
Now, let's talk about printability considerations:
- Wall Thickness: Is your model solid enough? If walls are too thin (less than 1mm for most FDM printers, sometimes more depending on nozzle size), they might not print, or they'll be incredibly fragile. Check your model's thinnest sections.
- Overhangs: These are parts of your model that extend outwards without anything directly beneath them. Printers struggle with printing in thin air. Most FDM printers can handle angles up to about 45 degrees without support, but anything steeper will need support structures. You'll generate these in your slicing software, but designing your model with minimal overhangs (as we discussed in prompting) saves a lot of post-processing work.
- Bridging: Similar to overhangs, but for horizontal gaps. Can your printer "bridge" short distances? Again, this is a slicer setting, but a well-designed model minimizes extreme bridging requirements.
- Tiny Details: While AI can generate incredible detail, your printer's resolution is finite. Extremely small text or fine features might not reproduce accurately. Keep your printer's capabilities in mind.
Finally, it's time for slicing. This is where you bring your cleaned-up 3D model into a program like PrusaSlicer, Cura, or Simplify3D. The slicer's job is to:
- Slice your model: It cuts your 3D model into hundreds or thousands of thin horizontal layers.
- Generate toolpaths: It determines the exact path your printer's nozzle will follow for each layer.
- Add supports: If needed, it creates temporary support structures that you'll remove after printing.
- Create a G-code file: This is the language your 3D printer understands.
In the slicer, you'll set your print settings: layer height, infill density, print speed, temperature, and so on. These settings are crucial for the quality and strength of your final print. Always use settings appropriate for your filament type and printer model. A bit of experimentation here goes a long way. Once everything looks good, you'll export the G-code to an SD card or directly to your printer, and watch your 3d printing from text come to life!
Advanced Strategies and the Future of AI 3D Printing with Quby
We're in 2026, and AI is developing at an astonishing pace. Just thinking about ai 3d modeling 2026 a few years ago felt like science fiction, and now it's a practical tool. But what's next? And how can you stay ahead?
One of the most exciting areas right now is multi-modal AI integration. We're seeing more and more tools that don't just take text, but can also interpret images, video, and even voice commands to generate 3D models. Imagine feeding in an image you drew with FLUX 1.1 or Grok Imagine, and then using AI to turn that 2D sketch into a full 3D model. Or taking a short video clip from Veo 3.1 or Runway 4.5 and having AI reconstruct the moving object in 3D. Some experimental systems are even exploring using voice commands via ElevenLabs v3 or Bark 2.0 to sculpt models dynamically. This means your creative input avenues are massively expanding.
Quby is very much focused on this future. It's not just a platform for text to 3d model ai, but a hub that aims to integrate these diverse input methods, giving you more ways to bring your ideas to life. You might find yourself importing an image, adding text prompts for detail, and then refining the model with simple voice commands, all within a single environment. This kind of unified workflow will be a true game-changer for designers and hobbyists alike.
Another advanced strategy involves AI-driven optimization for specific print technologies. Right now, we focus on general printability. But in the near future, AI might analyze your model and automatically suggest modifications for SLS, SLA, or FDM printing, ensuring optimal strength, minimal material use, and the best surface finish for that particular process. It could identify weak points and reinforce them, or automatically hollow out large objects to save material without compromising integrity.
The future of ai 3d generator tools also includes more intuitive material simulation. Imagine telling the AI your object will be printed in flexible TPU, and it generates a model with appropriate hinge thickness and structural give, rather than a rigid PLA design. This level of material intelligence will further blur the lines between virtual design and physical reality.
And let's touch on ethics and ownership. As AI gets better at creating, questions around who owns the intellectual property of an AI-generated design become more relevant. Most platforms, including Quby, offer clear terms about ownership, generally granting you full rights to your creations. But it's always wise to be aware of the terms of service for any AI tool you use, especially if you plan to sell your printed creations.
The possibilities are truly mind-boggling. What we've achieved with ai 3d modeling 2026 is just the beginning. The combination of your imagination, the power of AI, and accessible 3D printing means you hold the keys to a new era of personal manufacturing and artistic expression. Don't be afraid to experiment. Push the boundaries of what you think AI can do. And make some truly incredible things.
Ready to turn your thoughts into tangible objects? Head over to quby.app and start crafting your first AI-generated 3D model today. See for yourself how easy and powerful text to 3d model ai has become in 2026.
Ready to Create with AI?
Put these techniques into practice with Quby's professional AI creative tools.
Launch Creative Suite